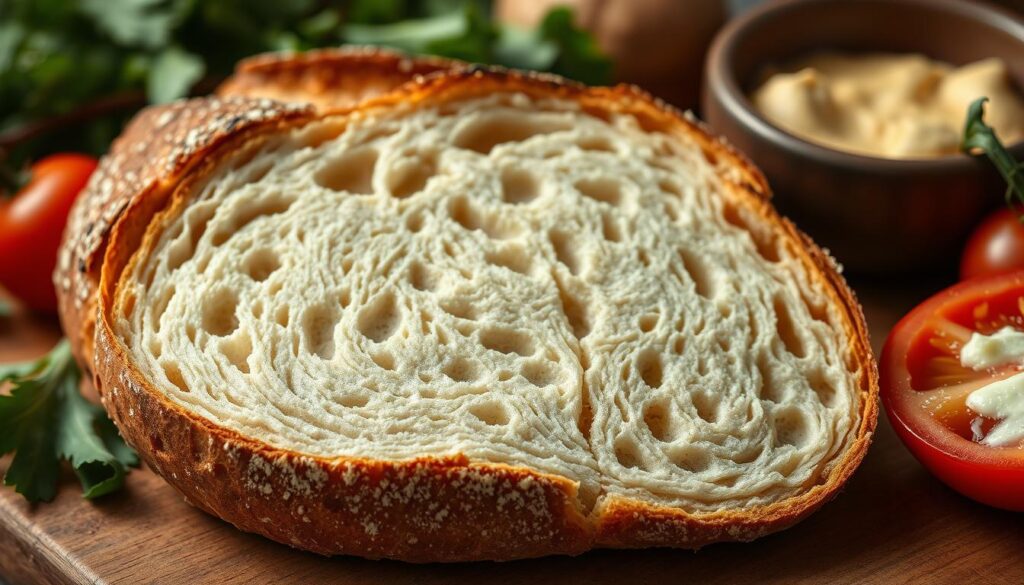
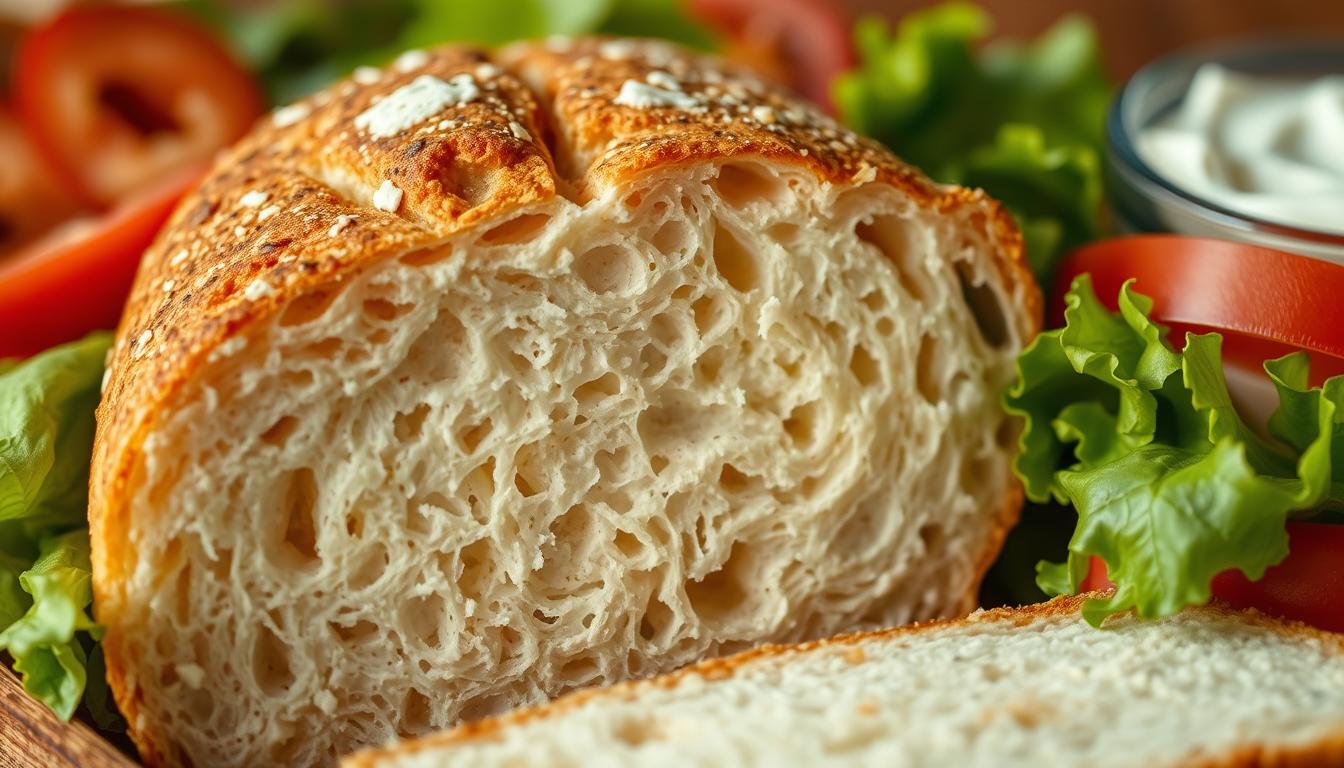
There’s something magical about pulling a warm, golden loaf of homemade sourdough sandwich bread from the oven. The aroma fills your kitchen, promising a culinary adventure. It connects you to generations of bread makers before you. Creating your own sourdough sandwich bread isn’t just about feeding yourself—it’s about crafting a delicious tradition right in your own home.
Baking your own homemade sourdough bread might seem intimidating, but it’s a journey worth taking. With patience and the right sourdough starter, you’ll transform simple ingredients into a masterpiece. This sourdough sandwich bread recipe will guide you through creating a soft, chewy bread perfect for sandwiches, toast, and sharing with loved ones.
Whether you’re a seasoned baker or a curious beginner, making sourdough bread is an art that anyone can master. Your kitchen will become a laboratory of flavor, where flour, water, and time combine to create something truly extraordinary. Get ready to embark on a delicious adventure that will transform your understanding of bread-making.
Table of contents
What is Sourdough Sandwich Bread?
Artisan sourdough bread is a tradition that turns simple ingredients into a tasty, healthy staple. Your sourdough bread making journey starts with learning about this special bread. It blends old techniques with today’s kitchen ways.

Sourdough sandwich bread is different from regular bread because of its unique fermentation. It uses a natural starter with wild yeast and good bacteria, not commercial yeast.
Brief History of Sourdough
The history of sourdough goes back thousands of years. Ancient Egyptians found that flour and water left out would ferment, making a natural rising agent. This discovery changed bread making forever.
- Earliest known sourdough dates back to 1500 BCE
- Widely used by miners during the California Gold Rush
- Preserved as a crucial food preservation technique
Benefits of Sourdough Bread
Making your own artisan sourdough bread brings health perks not found in regular bread. The fermentation process makes nutrients more available and easier to digest.
| Benefit | Description |
|---|---|
| Improved Digestion | Fermentation breaks down complex proteins |
| Enhanced Nutrition | Increases mineral absorption |
| Lower Glycemic Index | Slower blood sugar response |
Learning to make sourdough bread will bring you these amazing benefits. Plus, you’ll get to enjoy delicious, soft sandwich bread in your own kitchen.
Essential Ingredients for Your Sourdough Sandwich Bread Recipe
Making the perfect whole wheat sourdough bread starts with knowing your ingredients. The right mix can turn a simple recipe into a memorable dish.
Flour Types: Choosing Your Foundation
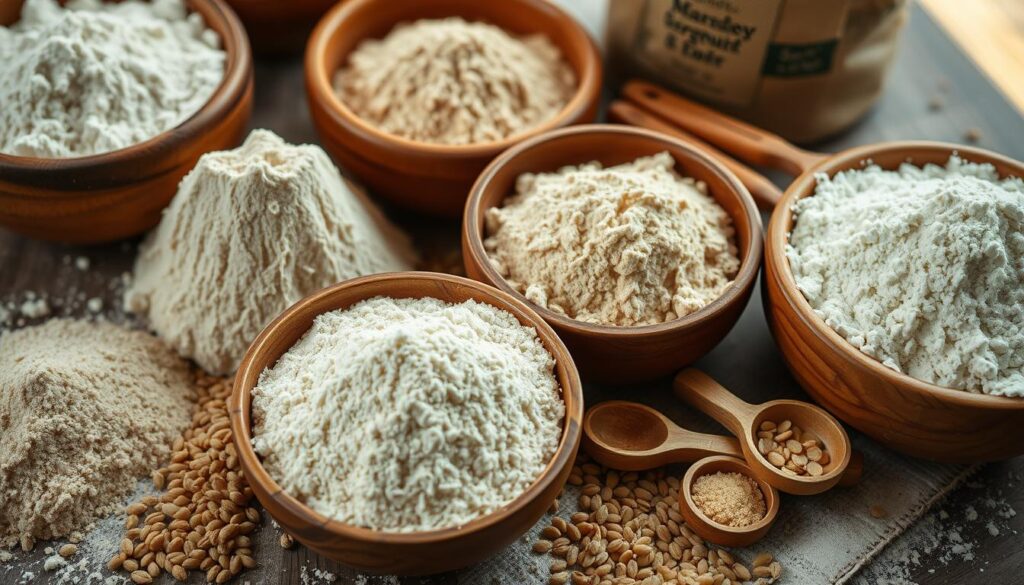
When making your sourdough starter, picking the right flour is key. You have two main choices:
- Bread Flour: High protein makes the dough strong
- All-Purpose Flour: It’s versatile and easy to find
- Whole Wheat Flour: It adds nutrition and flavor

Water Quality Matters
The quality of your water is crucial for your sourdough starter. Use filtered or spring water. Avoid tap water with chlorine, as it can slow down fermentation.
Selecting Your Perfect Sourdough Starter
A lively sourdough starter is the bread’s heart. Look for these signs:
- It should bubble consistently
- It has a nice, tangy smell
- It doubles in size in 4-8 hours after feeding
Tip: Keep your starter at room temperature and feed it often. This will help it perform well in your whole wheat sourdough bread recipe.
Tools You Will Need – Sourdough Sandwich Bread Recipe
For successful sourdough bread baking, you need specific tools. These tools turn your kitchen into a real bakery. Having the right equipment makes your sourdough bread baking techniques easier and more fun.
Precise Measuring Tools
Accuracy is key in sourdough bread baking. You should get high-quality measuring tools:
- Digital kitchen scale (for precise ingredient weights)
- Measuring cups and spoons
- Liquid measuring cup with clear markings
Essential Mixing Equipment
The right mixing tools are important for your bread’s texture. Here are some key items:
- Danish dough whisk for easy mixing
- Large mixing bowls (glass or ceramic preferred)
- Silicone spatula for scraping dough
- Metal bench scraper for handling sticky dough
Specialized Baking Equipment
Your baking gear is crucial for perfect sourdough sandwich bread:
- 9″x5″ loaf pan
- Proofing basket or banneton
- Spray bottle for creating steam
- Oven-safe dish for extra steam
- Sharp lame or razor blade for scoring
With these tools, you’ll be ready to master sourdough bread baking. You’ll make delicious homemade loaves.
Step-by-Step Sourdough Sandwich Bread Recipe
Making sourdough bread is a journey that needs patience and care. Your sourdough bread making journey starts with mixing simple ingredients into a tasty loaf. Here are the key steps to make the perfect sourdough sandwich bread.
Preparing the Dough
First, gather your ingredients. You’ll need:
- 4 cups all-purpose flour
- 1 cup lukewarm water
- 1/4 cup fed sourdough starter
- 1 1/2 teaspoons salt
- 2 tablespoons sugar
- 2 tablespoons olive oil
In a big mixing bowl, mix your sourdough starter with lukewarm water. Add flour, salt, sugar, and olive oil slowly. Mix until it’s a shaggy dough. Knead the dough for 8-10 minutes until it’s smooth and elastic.
Bulk Fermentation Process
The bulk fermentation is key for flavor and structure. Cover your dough and let it rest at room temperature for 10-12 hours. Every few hours, do gentle stretch and fold techniques to improve gluten.
Shaping the Loaf
After fermentation, shape your dough into a log. Put it in a greased loaf pan and let it proof for 2-3 hours. It should rise about 1 inch above the pan rim.
| Stage | Time | Temperature |
|---|---|---|
| Bulk Fermentation | 10-12 hours | Room temperature |
| Proofing | 2-3 hours | 68-70°F |
| Baking | 45-50 minutes | 375°F |
Preheat your oven to 450°F, then lower to 375°F when baking. Bake for 45-50 minutes until it’s golden brown. Your homemade sourdough sandwich bread is ready!
Understanding the Fermentation Process
Sourdough baking tips show that fermentation is key to making great bread. It turns simple ingredients into a complex, tasty loaf. This loaf is both healthy and delicious.
Fermentation is more than waiting for dough to rise. It’s a dance of microorganisms that create rich flavors and make bread easier to digest. Knowing this is crucial when you’re making the best sourdough bread.
The Role of Time in Sourdough
Time is a secret ingredient in sourdough baking. The fermentation process has several stages:
- Initial mixing: Combines ingredients and starts fermentation
- Bulk fermentation: The first rising stage, lasting 6-8 hours
- Proofing: The final rise before baking
How to Tell When Your Dough is Ready
Knowing when your dough is ready takes keen observation. Look for these signs:
- It’s about 75% larger than when you started
- Bubbles are all over the dough
- It feels soft and puffy when pressed gently
- It wobbles a bit when you move the bowl
Temperature is also important in fermentation. The best temperature is between 68-72°F (20-22°C). Warmer temperatures make it faster, while cooler temperatures slow it down. Being patient and practicing are essential to get good at sourdough fermentation.
Important Tips for Perfecting Your Bread
Making perfect artisan sourdough bread takes skill, patience, and detail. Whether you’re new or experienced, learning sourdough baking tips can improve your bread. It helps you make delicious, consistent loaves every time.
Common Mistakes to Avoid
Sourdough baking can be tricky. Knowing common mistakes helps you succeed. Here are key mistakes to watch out for:
- Over-proofing your dough, which can lead to flat, dense bread
- Ignoring starter health and maintenance
- Inconsistent temperature during fermentation
- Using cold ingredients that slow down fermentation
Ensuring the Right Texture
Texture is key in artisan sourdough bread. To get that perfect chewy inside and crisp crust, try these techniques:
- Perform stretch and fold techniques during bulk fermentation
- Maintain consistent dough temperature around 75°F
- Allow adequate resting time after shaping (20 minutes)
- Use proper hydration levels (around 90%)
Enhancing Flavor with Add-ins
Try different ingredients for unique sourdough baking experiences. Consider adding:
- Herbs like rosemary or thyme
- Seeds such as sunflower or pumpkin
- Dried fruits like cranberries or apricots
- Nuts for extra crunch and flavor
Successful sourdough bread comes from understanding your ingredients, environment, and technique. Practice, patience, and passion will help you master the art of artisan sourdough bread.
How to Bake Your Sourdough Sandwich Bread
Mastering sourdough bread baking takes patience and precision. It’s all about the steps to get that perfect crust and soft inside.
Preheating Your Oven Correctly
Getting your oven ready is key for the best sourdough bread. Start by heating it to 450°F (232°C). This creates the perfect environment for your bread to rise and get a beautiful crust.
- Place a cast-iron skillet on the bottom rack before preheating
- Add 6-8 ice cubes to create essential steam
- Spray the oven walls with water for extra moisture
Achieving Perfect Baking Temperatures
Your sourdough sandwich bread needs careful temperature control. Start with high heat, then lower it to 375°F (190°C) when you put the loaf in. This method ensures even baking and a delightful texture.
- Total baking time: 35-45 minutes
- Look for a deep golden-brown color
- Check doneness by tapping the bottom – it should sound hollow
Pro tip: Use an instant-read thermometer to confirm the internal temperature reaches 205-210°F for perfect baking.
Cooling and Storing Your Bread
Making the perfect homemade sourdough bread is more than baking. Cooling and storing it right is key to keeping its texture and taste. Knowing how to cool and store your bread can make it last longer and taste better.
Proper Cooling Techniques
After taking your bread out of the oven, be patient. Let your sourdough sandwich bread cool in the pan for 10-15 minutes. This helps it set inside. Professional bakers say to move it to a wire rack to cool fully for 1-2 hours before cutting.
- Let bread rest in pan for 10-15 minutes
- Transfer to wire rack for complete cooling
- Avoid cutting warm bread to prevent gummy texture
Best Storage Practices for Freshness
Storing your bread right is crucial for keeping it fresh. Keep it in an airtight container or bag at room temperature. Most sourdough loaves stay fresh for up to 3 days this way.
| Storage Method | Duration | Best For |
|---|---|---|
| Room Temperature | 3 days | Short-term storage |
| Freezer (Sliced) | Up to 3 months | Long-term preservation |
To keep it longer, slice your bread and freeze it. This way, you can toast slices straight from the freezer. Pro tip: Cut the loaf in half and store with cut sides facing down to minimize moisture loss.
Experimenting with Variations
Baking artisan sourdough bread is a journey of delicious discovery. Your homemade whole wheat sourdough bread can become a masterpiece with a few tweaks.
Adding Seeds and Grains for Extra Nutrition
Boost your bread’s taste and health by adding seeds and grains. Here are some great options:
- Sunflower seeds for crunch
- Sesame seeds for nutty flavor
- Poppy seeds for visual appeal
- Chia seeds for added protein
Flavoring Options: Herbs and Spices
Make your whole wheat sourdough bread stand out with herbs and spices. These can give your bread unique flavor profiles that make it special.
| Herb/Spice | Flavor Profile | Best Paired With |
|---|---|---|
| Rosemary | Earthy, pine-like | Olive oil, garlic |
| Thyme | Slightly minty | Roasted vegetables |
| Sage | Warm, peppery | Squash, autumn dishes |
Adjust your dough’s hydration when adding seeds or herbs. This ensures the dough stays just right. Don’t be afraid to try new things to find your perfect sourdough bread recipe.
Enjoying Your Sourdough Sandwich Bread
Your homemade sourdough sandwich bread opens up a world of delicious possibilities. It has a slightly tangy flavor and perfect texture. This versatile bread recipe turns ordinary meals into culinary experiences. Whether you’re making a quick lunch or an elaborate sandwich, your sourdough bread will make every bite special.
Delicious Sandwich Ideas
Classic combinations work wonderfully with your homemade sourdough bread. Think about a crisp turkey and avocado sandwich, or a gourmet grilled cheese with aged cheddar. The bread’s robust structure is perfect for hot sandwiches. Its subtle tanginess also complements both savory and light fillings.
Pairing Great Condiments and Fillings
Try unique condiments that highlight your sourdough sandwich bread’s distinctive flavor. Dijon mustard, herb-infused mayonnaise, or roasted garlic spread can make a simple sandwich unforgettable. Remember, homemade sourdough bread pairs exceptionally well with fresh, high-quality ingredients. This makes each sandwich a culinary adventure.
FAQ
How long does it take to make sourdough sandwich bread?
Making sourdough sandwich bread takes about 14-16 hours. This includes 12 hours for bulk fermentation, 2-3 hours for proofing, and 45-50 minutes of baking. Start your starter feeding about 12 hours before mixing the dough.
Can I use whole wheat flour instead of all-purpose flour?
Yes, you can use whole wheat flour instead of all-purpose flour. Whole wheat flour absorbs more water, so you might need to adjust the hydration level. Start by replacing 25-50% of the all-purpose flour and experiment to find your preferred texture.
What if my sourdough starter isn’t very active?
An active starter is key for a good rise and flavor. Feed your starter 8-12 hours before making the bread, keeping it at room temperature. If it’s not bubbly, use sourdough discard but extend fermentation time for a less dramatic rise.
How do I know when the dough is properly fermented?
Look for signs during bulk fermentation: the dough should double in size, feel relaxed and puffy, and show visible bubbles. In a warm kitchen (68-72°F), this takes about 10-12 hours. The dough should feel light and airy when you touch it.
Can I freeze sourdough sandwich bread?
Absolutely! Cool the bread completely, slice it, and store in a freezer-safe bag. You can freeze for up to 3 months. To use, toast the frozen slices directly or let them thaw at room temperature. This method helps preserve the bread’s freshness.
Why did my sourdough bread turn out dense?
Dense bread can result from several issues: under-fermentation, not enough kneading, using inactive starter, or over-proofing. Ensure your starter is very active, knead the dough thoroughly, maintain consistent room temperature, and carefully monitor fermentation times.
Can I add mix-ins to my sourdough sandwich bread?
Yes! You can experiment with various add-ins like seeds (sunflower, sesame, poppy), herbs (rosemary, thyme), dried fruits, or nuts. Fold these in during the final mixing stage, being careful not to deflate the dough. Start with small amounts and adjust to your taste.
How long will homemade sourdough sandwich bread stay fresh?
Store the bread in an airtight container or bag at room temperature for up to 3 days. For longer storage, slice and freeze the bread. Always let the bread cool completely before storing to prevent moisture buildup and maintain its texture.

